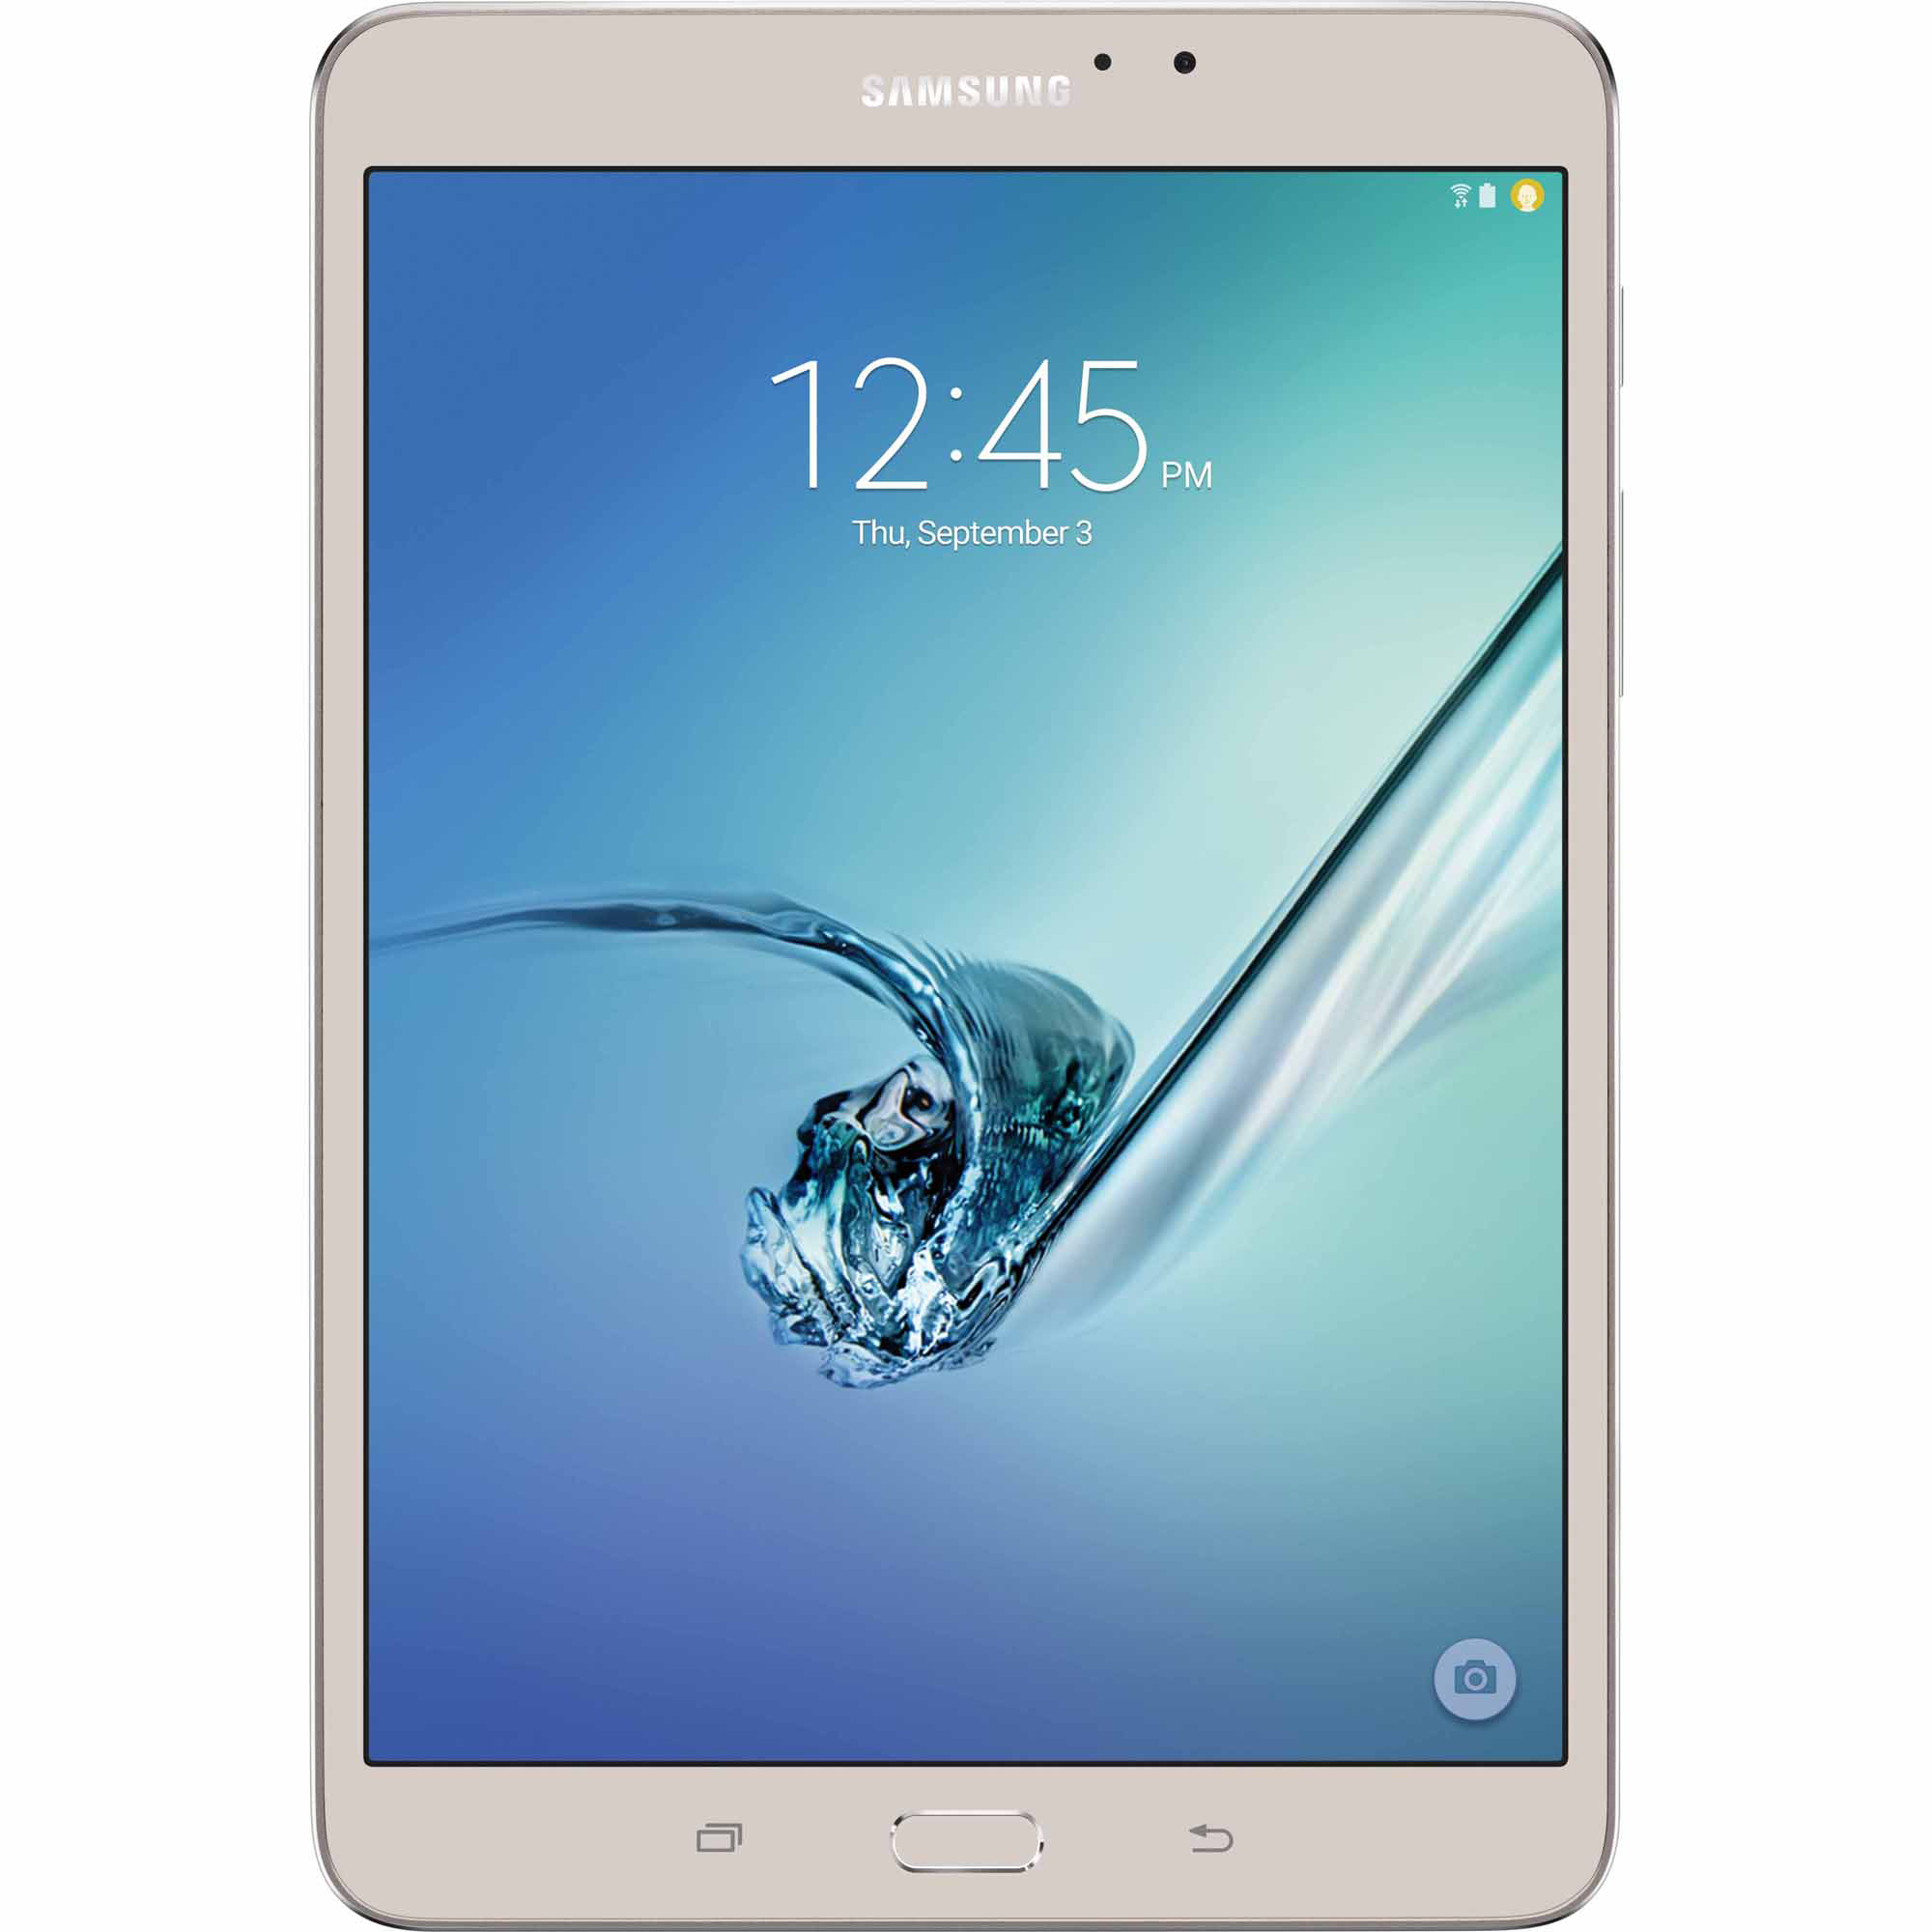
If you are a proud owner of a Samsung Galaxy Tab A 8.0 device and looking to improve its performance by tweaking your tablet; you should first learn how to install the TWRP recovery on your tablet. In this post, we will show you how you can easily install TWRP recovery on your Galaxy Tab A 8.0 T350, T355, P350 and P355 model numbers.
Let’s first know about TWRP recovery, it is a custom recovery image that replaces successfully the stock recovery of your Galaxy Tab A 8.0. With TWRP recovery installed you can extend your access, customize and optimize your device. The stock recovery of the Android core system is coming with factory and default limitations that offer a limited access.
Therefore, if you are an advance user and you are not satisfied with the stock recovery image you should replace it with TWRP recovery, in order to be able to apply custom operations on your Galaxy Tab A 8.0 tablet, otherwise, the stock recovery is good for you.
With TWRP custom recovery installed, you can apply other operations such as getting rid of start-up programs and bloatware, overclocking and undervaluing CPU frequencies, making Nandroid backups to save the current stock Android firmware, adding custom kernels, MODs, and custom ROMs, gaining root access, unlock the bootloader and more.
TWRP recovery has a touch based UI and is an easy to be used and intuitive software. The app comes with several settings that can be used for completing more personalization and optimization procedures. Before starting the installation of TWRP recovery on your Galaxy Tab A 8.0 tablet, make sure you read the entire guide and you know all the risks implied.
Because TWRP recovery is a software developed by third party devs and installing it on your device is not an official procedure, supported by Samsung or Google, it means that Samsung KNOW will be tripped. You will also lose your Galaxy Tab A 8.0 warranty, so in case your tablet needs technical assistance, you will need to pay for it. Flashing TWRP recovery process can be completed by using Odin, an official tool developed and offered by Samsung and generally used on update procedures.
Before starting the flashing process of TWRP recovery, you should backup your Samsung Galaxy Tab A 8.0 to secure all your important data and avoid unpleasant situations. You can use already tested backup and restore solution to save your contacts, saved passwords, images, audio and videos files, internet settings, apps, calendar info, the EFS folder and the IMEI / NVRAM data.
Make sure that your Galaxy Tab A 8.0 is charged to avoid the interruption during the flashing process and facing issues because of power loss. Odin can be flashed only on a Windows-based computer so make sure that you have your computer nearby. On the computer you must also install the Galaxy Tab A 8.0 drivers, this process can be ensured using the Samsung KIES utility.
On your tablet tap go to Settings and from About Device tap seven times on the Built Number option until you get the “you are a developer” message. Then, from Settings and Developer Options check the USB Debugging field.
Please keep in mind that this step by step guide is compatible only with the Samsung Galaxy Tab A 8.0 T350, T355, P350 and P355 model numbers. Do not try to apply it to other devices.
How to Flash TWRP Recovery on Samsung Galaxy Tab A 8.0
1. Download Odin from here on your computer and unzip the package. Then install the program by following the on-screen instructions.
2. Download on the computer the TWRP recovery file (by choosing from the following links depending on your tablet model) and save the package on the desktop: for T350 from here, for T355 from here, for P350 here and for P355 here.
3. Switch off your tablet and when the shutdown process is completed, reboot download mode on your Galaxy Tab A 8.0 tablet. To get into download mode, press and hold the Power+ Volume Down + Home buttons at the same time.
4. Run Odin on your computer and then connect your tablet to the computer using the USB cable.
5. When Odin recognize your tablet, the “added” message will be displayed and the ID: COM field will be turned in yellow or blue color, if not, reinstall the Galaxy Tab A 8.0 drivers.
6. In Odin select the AP option and choose the TWRP recovery file. Don’t check the Auto Reboot and Re-Partition options.
7. Click Start and TWRP recovery will be automatically installed on your Samsung Galaxy Tab A 8.0 device.
If Odin might is getting stuck during the flashing process, close the program and remove the USB cable. Force restart your tablet, reinstall the drivers on the computer and repeat the guide from step 1.
A boot loop might be also issued on your tablet. You need to go to recovery mode to make a hard reset and clear app data cache by selecting ‘wipe data factory reset’, ‘wipe cache partition’ and ‘wipe Dalvik cache’.


