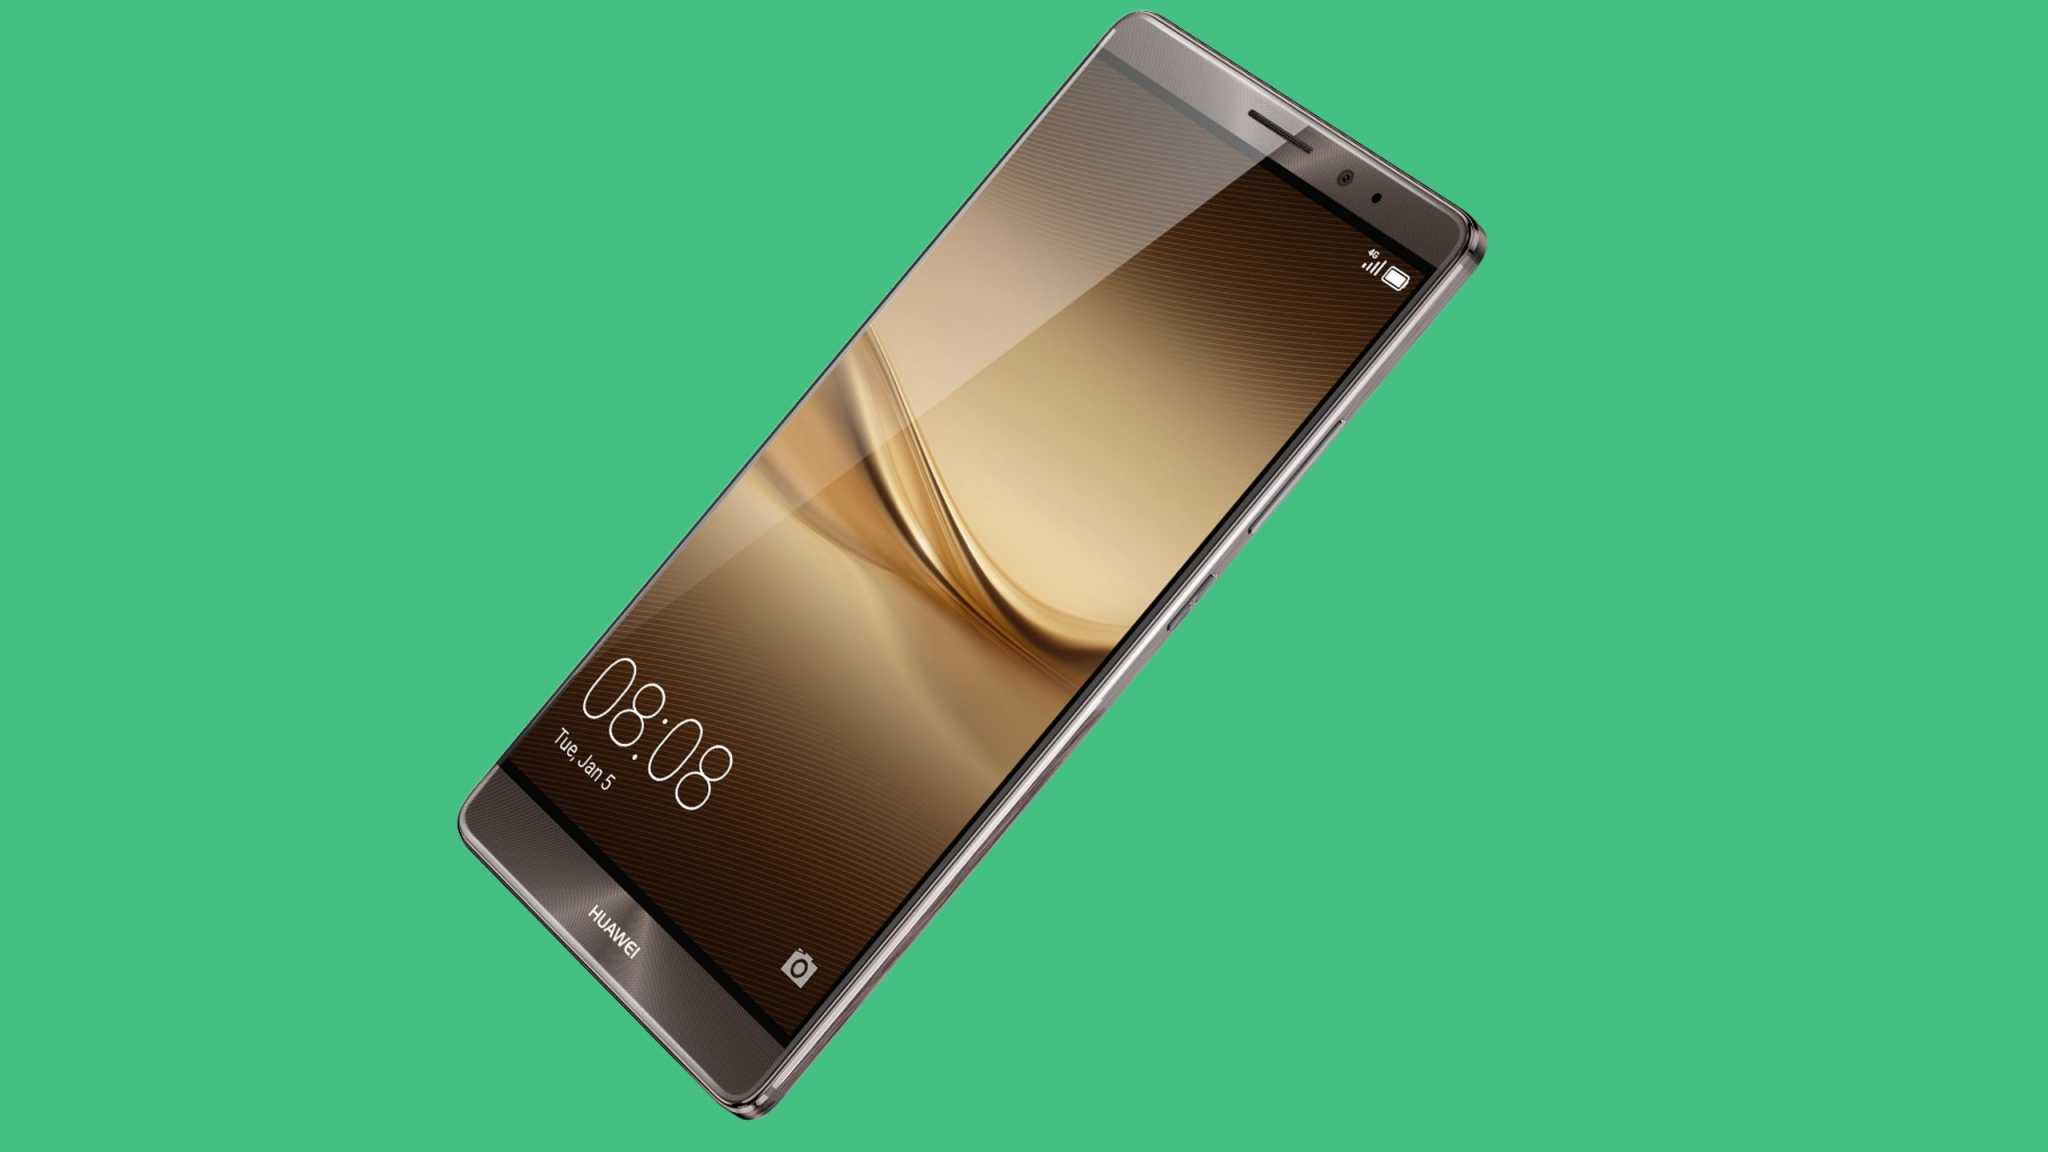
If you want to tweak your Huawei Mate 9 smartphone, begin with the installation of TWRP recovery on your Android device. The TWRP Recovery environment will help you to unleash the full potential of your smartphone.
In the following guide, we will teach you how to easily flash the latest version of TWRP Recovery on Huawei Mate 9.
TWRP recovery is a custom version of recovery which allows you to root your Huawei Mate 9. After flashing a custom recovery image, you will be able to apply many other custom operations such as removing bloatware, adding custom kernels, making Nandroid backups, flashing custom ROMs, overclock or undervolt CPU frequencies, installing applications from other sources than Google Play Store, and more.
You should know that replacing the stock recovery with TWRP software developed by third-party developers and is not related with Huawei or Google, is not an official operation. The result is the loss of your smartphone’s warranty if you will choose to resume the step by step guide from this post. So from now onwards, if your smartphone needs technical assistance you will need to pay for it.
Flashing the TWRP custom recovery can be a risky operation for your personal data as it might get corrupted or wiped out during the process. So, take the backup of both system and personal files. You can do that by downloading compatible backup and restore apps from Google Play Store, by syncing the data with your Google Account or by using cloud storage services.
Read also: Huawei Mate 9: 6 Tips and Tricks That You Can Try
Read also: Huawei P9 Plus Review: A Smart Treat for Photographers and Tech Geeks
There are some additional pre-requirements to follow also before flashing the TWRP custom recovery on your Huawei Mate 9:
- This guide is to be used only for Huawei Mate 9 smartphone.
- The Bootloader of your Huawei Mate 9, needs to be unlocked before applying this tutorial.
- A computer or laptop is needed to download and flash the recovery.img file on your device.
- The Developer Options and USB Debugging options must be enabled on your smartphone. For that, go to Settings -> About Phone and tap seven times repeatedly on Built Number until you see the ‘’you are a developer’’ message. Then, access Settings ->Developer options and check the USB Debugging option.
- Fully charge your device to avoid your phone getting turned off abruptly during the process.
How to Install TWRP Recovery on Huawei Mate 9
- Install Android SDK on your computer.
- Download from here the TWRP Recovery file and save it on the desktop.
- Go to the folder where you saved the custom recovery image and open a command window by pressing and holding the Shift keyboard key, right click on any blank space.
- Power on your Huawei Mate 9 smartphone and connect it to the computer using the USB cable.
- In the command window, type “ADB reboot bootloader” and your smartphone will be automatically rebooted into Fastboot mode.
- Then, in the same command window type “fastboot flash recovery twrp.img”, replace twrp.img with the name of the downloaded TWRP recovery package and then type in the command window “fastboot reboot”.
- TWRP recovery should now run on your Huawei Mate 9 smartphone.


