Being the Nirvana of most nerds, Google has awarded us with many things that we could only dream of free. There are many cases where it proved that it is much more than a typical ‘search engine.’ Let’s look at below example.
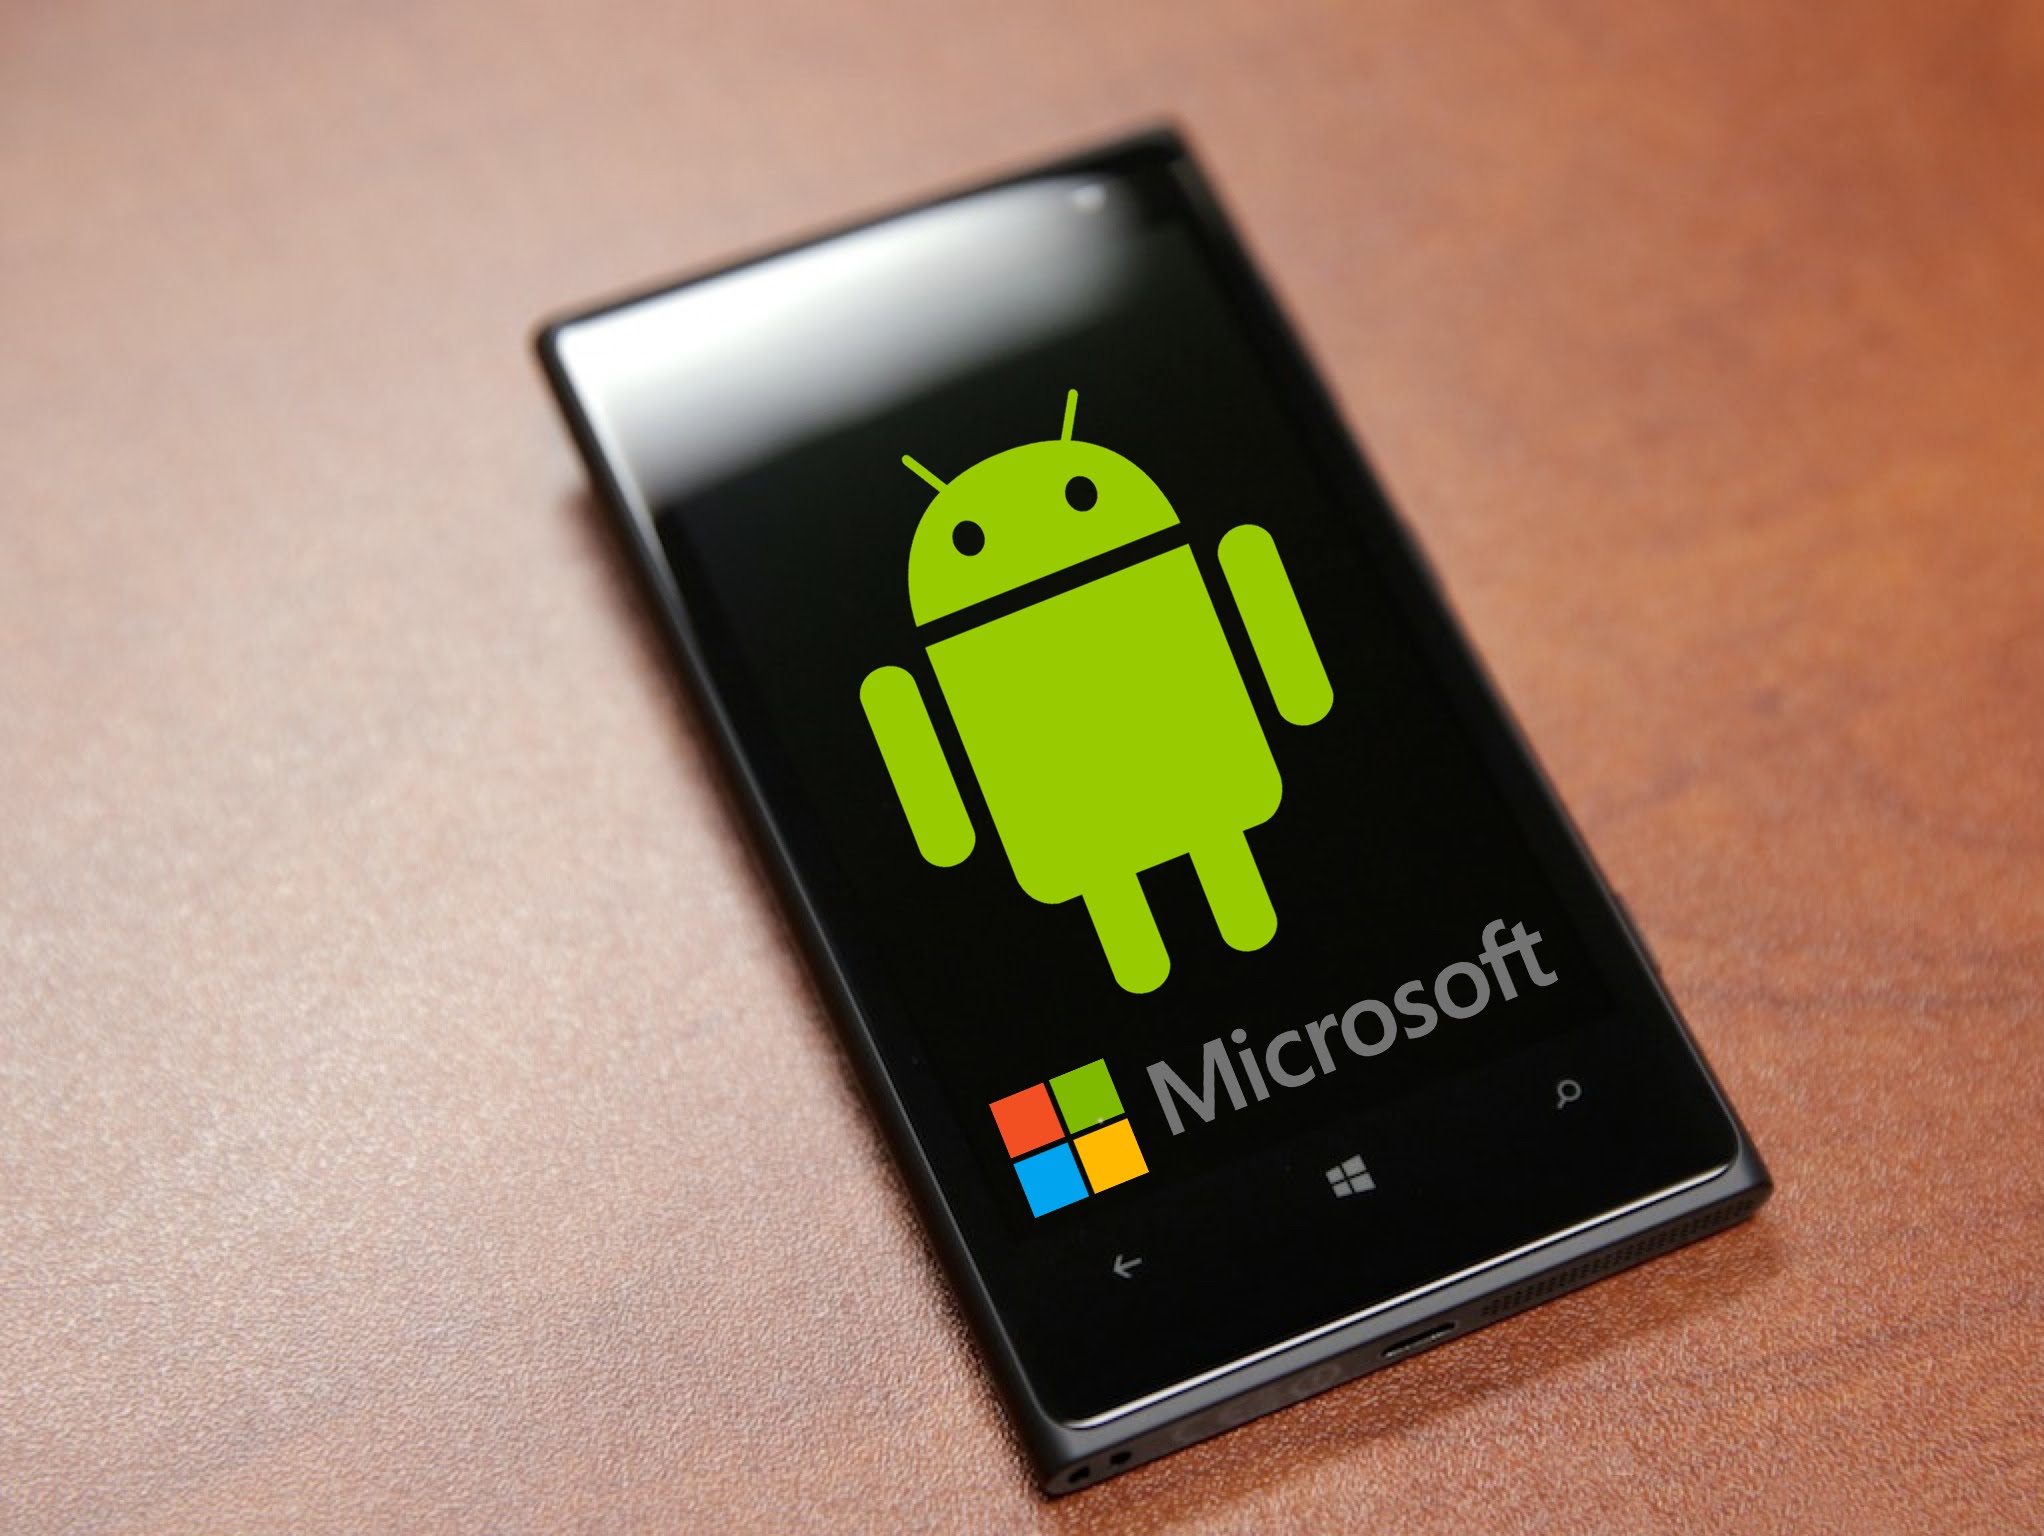
After bringing its own mobile operating system, now Google has been challenging Windows mobile and none other than iPhone. If you own an HTC Windows Mobile Phone; there is no need to buy a separate Android device to get its experience. This is because you can easily install Android on your Windows Mobile device. There is no doubt that porting this operating system is a big job, and not all devices feature this. However, upcoming GSM devices may come with this, but till date few CDMA devices support it.
Let’s see how you can install Google Android on a Windows Mobile Phone.
1. Collecting Files
There is a no specific set of Android files that can be used on all devices. Even in the case of supported devices, the files won’t be available at a single location and developer regions. A few of supply links for most HTC phone are:
- HTC Diamond
- HTC Vogue/Kaiser/Polaris/Nike
- HTC Raphael/Fuze/Touch Pro
And if you don’t see your phone model, there is no need to lose hope. Just carry out a search on Google on your phone model. However, before going off-line, always verify the sources to make sure that you’re not hooked to any corrupted content.
Download the Google Android files for your phone model
- The updated Android bundle/files for your phone
- HaRET (executable)
Most sites will provide file bundles, others will generally give a directory of files online.
2. Installation
If you already have a custom ROM, you may need to format the device. You may encounter some issues when double-modding, but you would be put on Android in any case.
Let’s start with putting the files in place. Connect via USB and move to your phone’s root. Now unzip your Google Android release, transfer the files you’ve just downloaded. Put them like this:
- HaRET.exe
- zImage (kernel file)
- Initrd.gz
- default.txt
- rootfs.img
- system.img/system.sqsh (Android OS files)
It would provide assistance to shorten filenames. Now, configure your default.txt. Execute the file in Notepad and make sure that all values are correct. Check out a list of Boot Options here. You might need to modify phone model, screen resolution, internet access and the like. Though it may take some time, it isn’t complicated.
Now the time has come to disconnect your device and browse your Windows Mobile file manager to locate HaRET.exe. You may need to add it to your application shortcuts. Open HaRET and tap Run. This will reboot your phone with the Android files. Now enjoy the new face of your device.


