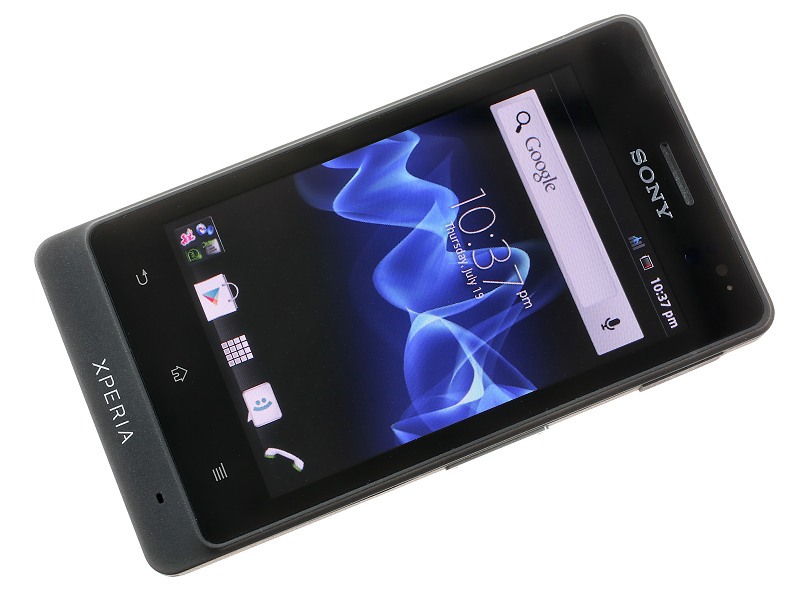
If you’re an owner for a Sony Xperia U, and you want to flash available custom ROM’s for it, then first thing that you need to do is to root it. From this section, you’ll learn how to root the Sony Xperia U device. The Sony Xperia U android smartphone has been released on 2012, February and it has a 3.5 inches multitouch display, and it is protected by Scratch-resistant glass technology. The CPU is a Dual-core 1 GHz Cortex-A9 and GPU is Mali-400. In the trend of video camera, Xperia comes with 5 Megapixel primary camera, and the secondary camera is an VGA. The Android 2.3 Gingerbread operating system that comes installed by default and the quality design make this smartphone special. If you want enjoy all advantages from this device, then the following method to root the SonY Xperia U device it is truly helpfully.
So, let’s start firstly with the prerequisites that are required before root it:
- Once you root the device your warranty will be void. Any way, you can restore your warranty by unrooting your smartphone or if you downgrade to the stock.
- For rooting your device with this listed method you’ll need Windows based computer because this tutorial works only with a Windows based PC.
- Apply this guide and all instructions listed in this article only for Sony Xperia U running on the Android Ice Cream Sandwich.
- Make a full backup for all important data, because the root process is a complex process and if something happens with your device then you will lose your critical data, you can copy the data in your external SD card smartphone’s memory, or copy the data in your computer or in the cloud.
- The information in this procedure is provided for educational and instructional purpose only, and use these instructions at your own risk, you cannot blame the android.sc team if something don’t work well with your device.
So, I think these are all prerequisites that you should know before to move to our root guide below listed.
How to Root the Sony Xperia U- complete guide
- First download the Root Pack from here (the first post) and save the archive into your Desktop.
- Secondly unzip the downloaded zip file from to your Desktop PC.
- From the following path: Menu>>Settings>>Developer options>>USB debugging turn ON the USB debugging option.
- Now, connect your Xperia U device to the computer using the original USB cord.
- Open the extracted folder from the desktop and there double-click on the RunMe.bat file
- Select the Normal mode when you’ll be asks to choose the mode.
- From the tool interface select Root option and after that the rooting process has started.
- When the rooting’s process is successfully done, reboot your smartphone.
That’s all. Now your device has been successfully rooted.
Congratulations, you successfully learnt how to root the Sony Xperia U smartphone; after you rooted your device you should be able to access the Superuser applications in your App Drawer. Now you can flash the custom ROM’s that are available for this smartphone and from the Google Play Store you can install the applications that require the root access.
Let us know, in our comment section if this rooting process worked for you. Please, also use our comment section and only if you’re in the face of issues share detailed information about your issues, and we will try to find the best solution for you.


