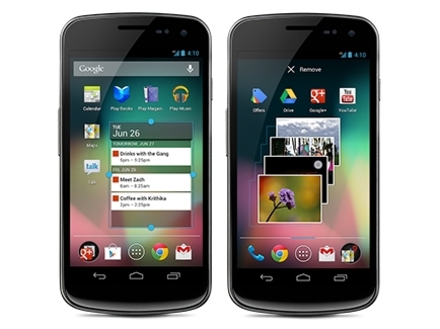
Do you have a Nexus 4 device and want to customize your device? In this article, I will show you how it is possible to do this.The bootloader unlocking action is required if you need to install in your device new custom ROMs.
The unlocking process is a complex one and you need to take a backup any other data in your smartphone. So, in this case make sure you’ll get a full backup for all your critical information before you’ll start the bootloader unlocking process.
Pre-requisites:
- This tutorial and all instructions from this article are only for Nexus 4 smartphone. Do not use these for any other devices.
- First, you need to download the Android SDK files from HERE on your PC. These adb files are needed to identify your device by the PC.
- Be sure you made a backup for all your data files as unlocking process will erase all the data stored on your device including the internal SD card.
- Enable USB debugging option and for this you need to enable it from the Developer Options. These options are hidden in Android 4.2 version and for finding. To do this you will have to go to the menu and then open Settings after that About device and after that you have to tap 7 times on the Build Number section.
- Verify the smartphone battery, and charge it full.
- Be carful and apply all the instructions and don’t skip any steps listed in this guide.
Disclaimer:
This post is only for the educational purpose. So if, anything happens to your device the android.sc team is not responsible for that.
How to Unlock Nexus 4 Bootloader – tutorial
- First, you need to download the Fastboot package from HERE and save it on your PC.
- Second, extract the downloaded archive zip file in a folder named ‘Fastboot’. Save this folder on your desktop computer for an easy use.
- Now, Power off your Google Nexus 4 device, and then boot your device into Fastboot mode. This is possible by pressing simultaneously the Volume down, and Power buttons, until on the screen displays the “start” text, then you can release the buttons.
- Now, Connect your Google Nexus 4 to your computer using the original USB cable.
- In to your PC, open the ‘fasboot’ folder and there press ‘SHIFT’ button from the PC keyboard. Press shift key pressed press right click on the white space of the current folder (Fastboot) and chose ‘open command window here’ option from the showed context menu.
- In the CMD window prompt, you must enter the following commands, which are useful for unlock the Nexus 4 bootloader:
- fastboot devices – this command is necessary to detect the Nexus device if this command does not detect your device. You should reinstall the compatible drivers for it.
- fastboot oem unlock – This command will unlock your Nexus 4 bootloader. You must confirm that you want to do this thing.
After your device will restart and after the restart will boot in normal mode, this was all your Nexus 4 bootloader has been unlocked.
Congratulation, you successfully learnt how to unlock the Nexus 4 bootloader. You’re able to install new custom recovery image and you can make a modification for the files which with the booloader locked is not possible.
- You need to repeat all the instructions and the tutorial until you reach the step 6
- Then enter the next command:
‘fastboot oem lock’ instead of the unlock command ‘fastboot oem unlock’
- After this command, your Nexus 4 device will restart, and the bootloader was relocked.


