The HTC One device recently received the official Android 4.2.2 Jelly Bean software update, but now the latest version of Android OS is Android 4.3 which isn’t yet available for HTC one officially.
The CyanogenMod team has recently developed a new unofficial builds 10.2 (CM10.2) for HTC ONE smartphone.
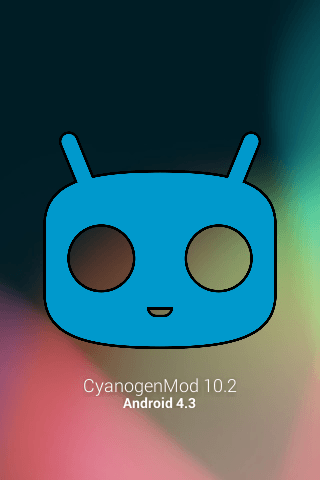
The new CM10.2 is based on AOSP and integrated the new Android 4.3 Jelly Bean for the HTC One.
This article will teach you a manual method about how to manually flash the latest Android 4.3 using CyanogenMode 10.2 unofficially build ROM on the HTC One device. So, HTC One owners, may follow the next step by step instructional tutorial.
Follow these instructions at your own risk.
Pre-requisites:
- Download and install suitable USB drivers for HTC One device, the USB drivers are required to transfer files between the PC and HTC One device.
- Now, from the next path: Menu -> Settings-> Applications-> Development option and from there enables the USB Debugging Mode option.
- Take the back up of your important data and applications from device’s internal storage memory. This process will wipe out all of the data of the HTC One smartphone. If you have a custom recovery image as CWM OR TWRP recovery already installed. get a full Nandroid backup for ROM running on the HTC One device, before proceeding forward.
- Now, make sure that the device’s battery has more than 80% power left.
- The HTC One device should be rooted and also to have a custom recovery image installed on it, we will use CWM for this guide, but also can be used the TWRP recovery instead of CWM recovery.
- The new custom CyanogenMode 10.2 builds work only on HTC One M7 (GSM version), so in case you’ll install the same on an incorrect variant you can easily stuck or damage your device.
- After installing the new ROM if the HTC One smartphone gets stuck on the first Booting animation or it will enter into a boot loop, you need to perform wipe cache partition and wipe Dalvik cache( five more times) and then you need to reboot the HTC One device.
- The first boot up, after the new custom ROM is installed, can get more than 10 minutes, so you should be patient.
How to install Android 4.3 on HTC One using CyanogenMod 10.2 unofficial build
- Download the new CM 10.2 Android 4.3 custom ROM from here for the HTC One device to the PC.
- Now, download Google Apps pack from here.
- Next, connect the HTC One device to the PC using the USB cable for that.
- Copy both downloaded zip files from above to the SD card of the HTC One Smartphone.
- Disconnect the device from the PC by unplugging the USB cable from PC.
- Turn off the HTC One device.
- Boot it into Recovery Mode. (Press and hold Power and Volume Down buttons simultaneously until the display of the HTC One device flashes.
- Now from the Recovery Mode (HBOOT) menu, navigate to Recovery option (use Volume Down button and select the the Power button).
- Now, from the Recovery mode perform a Nandroid backup of the actual ROM that can be restored in case you don’t like it very much this new custom ROM or if the new custom ROM won’t work.
- To get a Nanadroid backup, you need to select from the Recovery Mode the Backup and Restore option and then on the next screen, select Backup option again.
- Next, after the backup is done, go back to the main recovery mode menu.
- Perform a data wiping task (you need to eliminate clash between the new firmware and the previous one). So, to do this select wipe data/factory reset , select yes to confirm the action on the next screen.,
- Now, wait for 3 or 5 minutes until data wiping task is done.
- Return to the main CWM recovery menu, select Wipe Dalvik Cache under advance option. This action will perform a Dalvick cache wiping.
- When the action is done, return to the main recovery menu.
- From the main menu of Recovery Mode, select install zip from sdcard, select choose zip from sdcard.
- Now, browse and load the CM10.2 ROM zip , that was earlier transferred to the SD card on the HTC One smartphone. (Select the file using the Power button, confirm the flashing on the next screen).
- The flashing ROM process should start now.
- After the new CM 10.2 ROM is completely installed, you will have to install Gapps.
- For installing the Google apps pack, follow the same modality, choose the Google apps pack that you have earlier copied on the SD card of the phone.
- Now, when the flashing process is done, return to the main Recovery Mode menu.
- From the main Recovery Mode menu, select reboot system now.
- The HTC One device will now boot for the first time into the new CM10.2 firmware based on Android 4.3 OS.
Note: this first boot up will take around five minutes to be completed.
Good, you have now learnt how to install the new unofficial CM 10.2 based on Android 4.3 OS to HTC One device.
For verifying the new firmware version navigate to Settings>> About phone
If you don’t like this new firmware and go back to earlier ROM, boot the HTC One device into recovery mode once again, and from there select Backup and Restore option, restore the ROM by selecting the backup file from the list.


