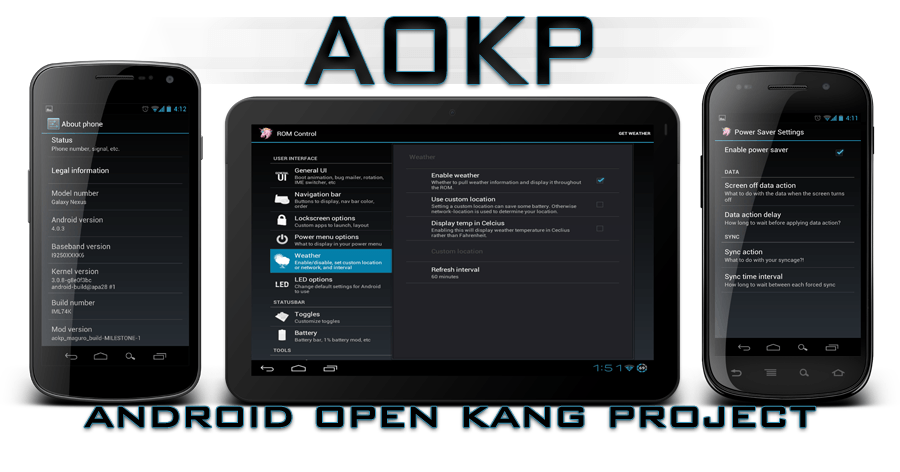
The latest AOKP JB build 5 based on latest Android 4.1.2 firmware has been launched from the Nexus S users by the Android Open Kang Project.
For a successful installation with this new update, it is very important to read and follow all the steps mentioned in the article.
Pre-requisites:
- Use this update only for Samsung/ Google Nexus S device.
- The bootloader must be unlocked.
- Create a complete Nandroid backup for your existing ROM.
- Download SMS backup & restore app for make a backup to your SMS
- To save your internet settings you can use APN Settings Backup & Restore.
- To save your existing applications use AppBackup for Android.
- Download Call Logs&Restore and use this application for make a backup for your Call Logs.
Note: Some of this application will work only if your device is rooted.
- Enable USB Debugging option.
- Verify if the level of charge for the Nexus S battery is more over 50 %.
Important: This tutorial is compatible and can be applied only for Samsung/ Google Nexus S devic .
Warning: This post is only for the educational purpose. If anything happens to your device we are not responsible for that.
How to update Nexus S to AOKP JB Build 5 custom ROM -tutorial
- First, download the new ROM zip archive file on your PC, don’t unzip the archive.
- Now, download Google Apps (take the files for Android 4.1 Jelly Bean) on your PC, don’t extract the content.
- Connect your Nexus S device with the original USB cable on your computer.
- Transfer the downloaded files on the Nexus S internal SD card storage.
- Disconnect your device from the PC and after that power it off.
- Now boot your Samsung/ Google Nexus S device into Recovery Mode. To do this press at the same time ‘volume up’ + ‘power’ buttons, after that release the buttons only when the display is Power ON.
- In Recovery Mode, select ‘wipe data/ factory reset’ and after that confirm the option for a clean installation.
- If your device has AOKP JB Build 4 installed on it, you can skip this step.
- Select ‘install zip from sdcard’ and after that select ‘choose zip from sdcard’, find the AOKP JB Build 5 zip and install this archive.
- Now Select ‘choose zip from sdcard’ again and get the Google apps for Jelly Bean zip.
- Confirm its installation. After these two installations, ROM and Gapps are successfully flashed on your device, you should return on the main menu custom recovery screen.
- Now, go and select the ‘reboot system now’ option.
- After the restart, your device will boot with the Build 5 of AOKP JB ROM for the first time.
- The final action is to write your Google Account when the update is complete.
NOTE: If your Samsung/ Google Nexus S gets into a boot loop or have problems to go past the boot animation logo.
In case you have other problems, please use our comment section to share with us what happens, and we will do all the best help you.


