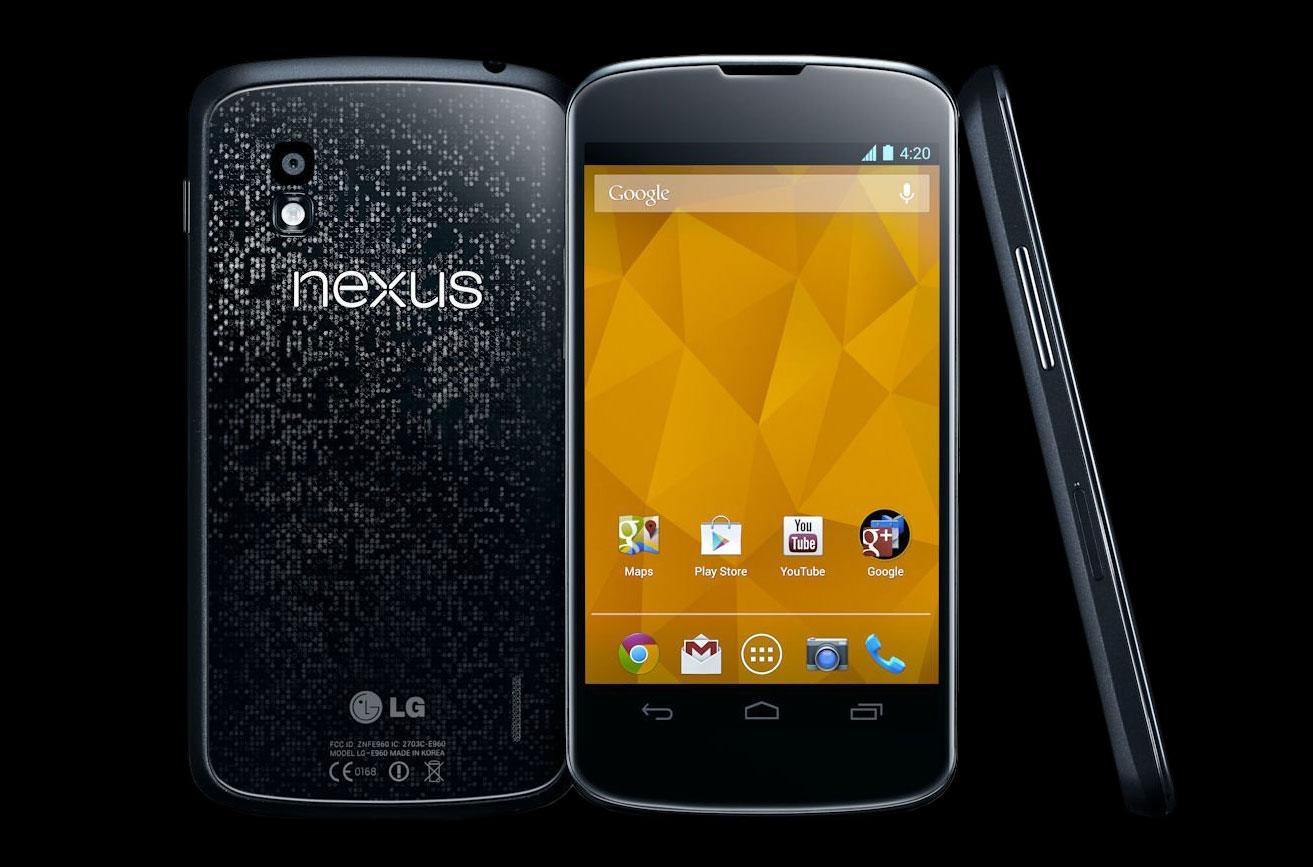
Released in November 2012, the Nexus 4 smartphone, co-developed by Google and LG Electronics, has reached the market with Android 4.2 Jelly Bean version and met generally positive reviews from critics.
However, after the update to Android 5.1.1 Lollipop, Google no longer included the Nexus 4 in its list of supported devices, that means the device will not receive any official update.
Lately, Google has released Android Nougat for its latest Nexus devices like Nexus 5X, Nexus 6, Nexus 6P, Nexus 9, Nexus Player and Pixel C and made the users of these devices pleased for trying all new features of the Nougat update.
Being still a device with pretty much potential, the developers of custom ROMs have given Nexus 4 the chance to run also the latest Android OS release.
Today we will focus our attention on updating the Nexus 4 device to Android 7.1 Nougat version with NitrogenOS Custom ROM.
So if you are a Nexus 4 user with a rooted device and you want to try flashing this Custom ROM to your device, follow our step by step guide mentioned below.
The new NitrogenOS Custom ROM firmware from Nitrogen Project is bringing the features of Nougat to your Google Nexus 4 but as is not an official firmware some features may not work properly.
Before updating Nexus 4 to Android 7.1 Nougat NitrogenOS Custom ROM make sure that the following guidelines are met.
- Create a backup of all your important data
- Make sure that your battery is fully charged.
- Your device is rooted with the most recent recovery system installed.
- The bootloader is unlocked.
- The USB Debugging is enable.
If your Nexus 4 software is already lagging, it is not recommended to follow this procedure, instead think getting a phone that is eligible for the update.
How to Install Android 7.1 Nougat NitrogenOS Custom ROM
- Download NitrogenOS Android 7.1 Nougat on your computer and Google Apps on your device.
- Connect the Nexus 4 device to the PC using a USB cable and copy the above downloaded files to the internal storage of your device.
- Power off the phone and unplug it from the PC.
- Boot the Nexus 4 device to Recovery mode by pressing and holding Power+ Volume Up+ Volume Down
- When you see the Bootloader or Fastboot menu,release them. To select a choice,to navigate use the volume keys, and to navigate the Power button.Select Bootloader-> Recovery.
- Select Backup and Restoreto perform Nandroid Backup and go back to main menu.
- Wipe data by selecting‘wipe data/factory reset’.
- Select ‘wipe cache partition’to perform cache wipe.
- WipeDelvik Cache from Advanced-> Wipe Delvik Cache.
- Select Install Zip from SDcard-> choose zip from SDcard from the main recovery menu and locate the NitrogenOS Android 7.1 custom ROM. Once located select and confirm.
- Follow the same step for installing Google Apps.
- Once NitrogenOS Android 7.1 custom ROM and Google Apps installed, select reboot system now to reboot your Nexus 4 device.
Normally, it will take longer than usual to load all files, as this is the first boot after flashing.


