The official Android 8.0 Oreo System Image has been released for all Google Nexus 5X smartphones. In this guide, you will learn how to install the Android 8.0 Oreo System Image and to restore your own Nexus 5X device to stock Android system. In case you are running on an older Android OS or a custom ROM.
The installation of the Android Oreo Factory Image will delete all the data stored on your device, so the first thing to do is a backup.
Before starting the installation process check the guidelines from below:
- Read all the instructions and make sure that you don’t skip any steps.
- This guide has to be used by advanced users, and we cannot be blamed in case you brick your smartphone or you lose data files in the process.
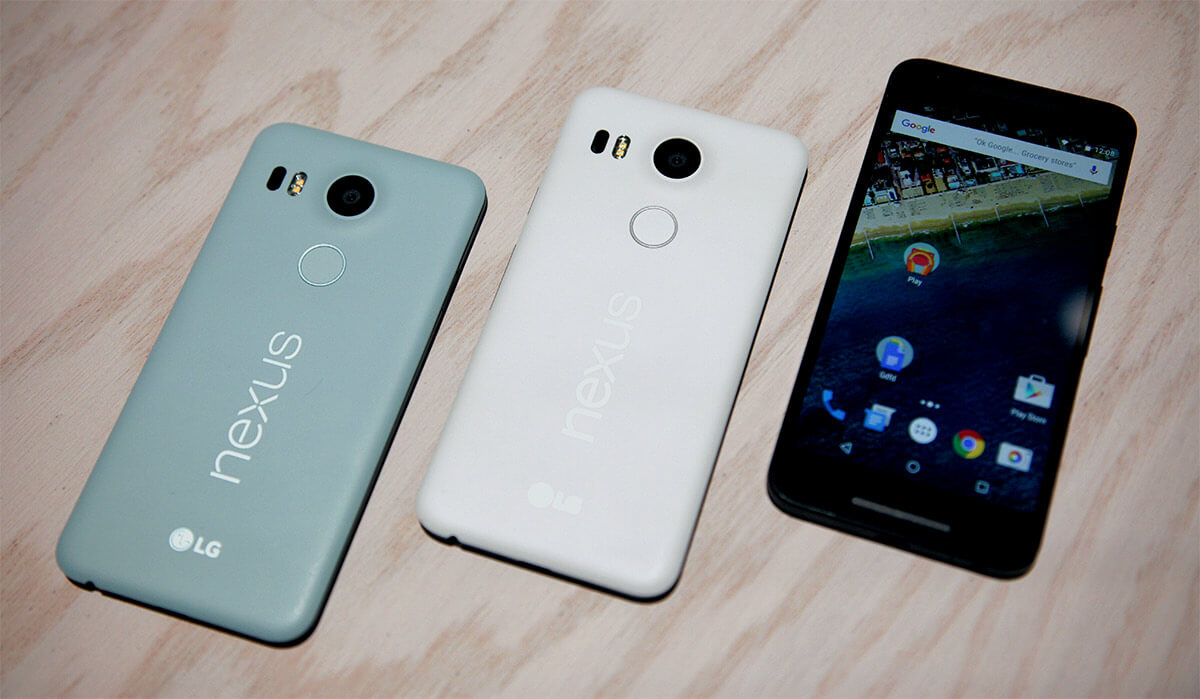
- Apply this process only for a Google Nexus 5X device. Don’t try to use it for other different Android devices.
- Enable USB Debugging and OEM Unlock options founded under the Developer Options menu.
- If you cannot find the Developer Options menu, then you have to unhide it by going to Settings->About Phone and by tapping seven times on the Firmware Build Number text.
- Once the Developer Options menu is listed under Settings find and enable the USB Debugging and OEM Unlock options.
- All the data from your Google Nexus 5X will be wiped in the installation process because your smartphone’s bootloader needs to be unlocked, so you have to save everything.
How to install the official Android 8.0 Oreo Factory Image for Google Nexus 5X
- Setup Android ADB and Platform-Tools for your computer. This will allow your computer to connect to the smartphone:
- Download the Platform-tools zip for Windows-based computers from here, for Mac OS from here and for Linux from here.
- Extract the files from the zip archive and save the Platform-tools folder on the computer’s main system partition. Leave the folder open.
- Download from here and install the Google USB drivers on your computer, too.
- Download from here the Android 8.0 Factory Image.
- Extract and save all the files to the Platform-Tools folder.
- Power of the Google Nexus 5X device and boot it into Bootloader Mode.
- Open a command window in the Platform-Tools folder.
- Connect the device to your computer using the USB cable and make sure that the device has been detected.
- In the command window enter the: fastboot flashing unlock command and press enter to confirm. This will unlock the device’s bootloader.
- Go back to the Platform-Tools folder, find and launch the Flash-all.bat script (in case you use a Windows computer) or the Flash-all.sh script (for MAC OS and Linux computers).
- Confirm the Flash-all.bat Android 8.0 installation process and wait for it to be completed. You will see a confirmation message.
- Now, you can disconnect the Nexus 5X smartphone from the computer and boot it in normal mode. The first boot process might take longer than usual.


