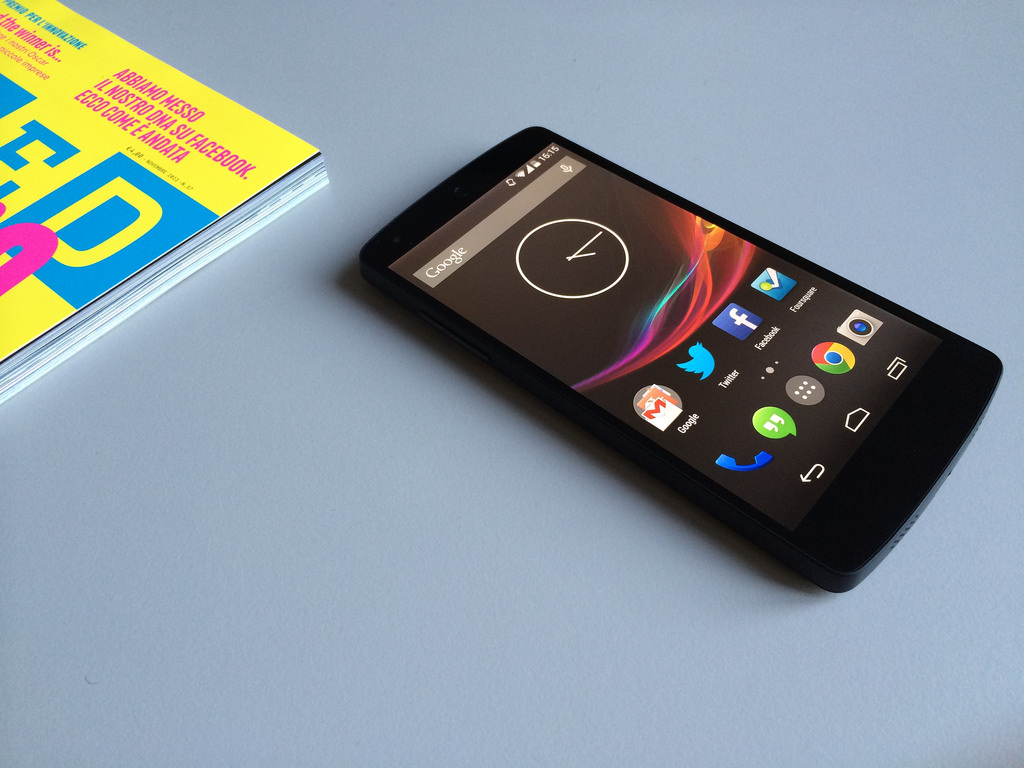
The Android 8.0 Oreo Factory Image is now available for the Google Nexus 5X devices and if you want to restore your own Nexus 5X device to stock Android, you can follow the guide from this post and learn how to do it. If your device is running an older version of Android OS or a custom ROM and you want a fresh start for it, you can install the official Android 8.0 Factory Image. But remember that all data from your device will be removed in the installation process, so don’t forget to take the backup of all the files stored on your Google Nexus 5X device.
Before you start the installation itself, check the following guidelines:
- Use this guide only if you are an advanced user and only for the Google Nexus 5X device. Don’t try to use it for other models.
- Charge your Google Nexus 5X device and make sure it has at least 50% power left before it switches off.
- Enable USB Debugging and OEM Unlock options. These options are found inthe Developer Options menu. The Developer Options menu might be hidden; so, to see it in the Settings section goes to About Phone and tap seven times on the Firmware Build Number. Turn back to Settings and from the Developer Options menu enable the two options.
- Because all the data from your Google Nexus 5X device will be wiped in the installation process, create a backup before starting the process. The reason is that the installation of Android 8.0 Factory Image cannot be completed without unlocking your device’s bootloader and this will wipe all your data.
Setup Android ADB and Fastboot Drivers for your computer to allow it to connect with your Google Nexus 5X device. Without installing the drivers you cannot install the Android 8.0 Factory Image. Follow the below instruction to setup the Android ADB and Fastboot Drivers (Platform-Tools):
- On your computer, download the Platform-tools zip for Windows based computers from here, for Linux from here and for MAC OS from here.
- When the download is completed, extract the zip contents from and save the Platform-toolsfolder on the main system partition of your computer.
- Next, download from here and install the Google USB drivers, also.
How to Flash the Android 8.0 Oreo Factory Image for Google Nexus 5X
- On your computer, download from here the Android 8.0 Factory Image.
- Extract the contents and save them to the Platform-Tools folder.
- Power off your Google Nexus 5X and boot it into Bootloader Mode.
- Connect the Nexus 5X with your computer using the USB cable and make sure that it is detected by the computer.
- Go to the Platform-Tools folder and open a Command Prompt / Terminal window here.
- First, unlock the bootloader by entering the command “fastboot flashing unlock” in the command windowand by pressing Enter to confirm the process.
- Go to the Platform-Tools folder, find and launch the Flash-all.bat script if you use a Windows based computer and the Flash-all.sh script if you use a Linux or MAC OS based computer.
- Confirm the Android 8.0 OREO flashing process and wait until the installation completes. When the installation is done you will see a confirmation message.
- Disconnect the Nexus 5X device from the computer and then boot it in normal mode. The first boot process may take longer than usual.


