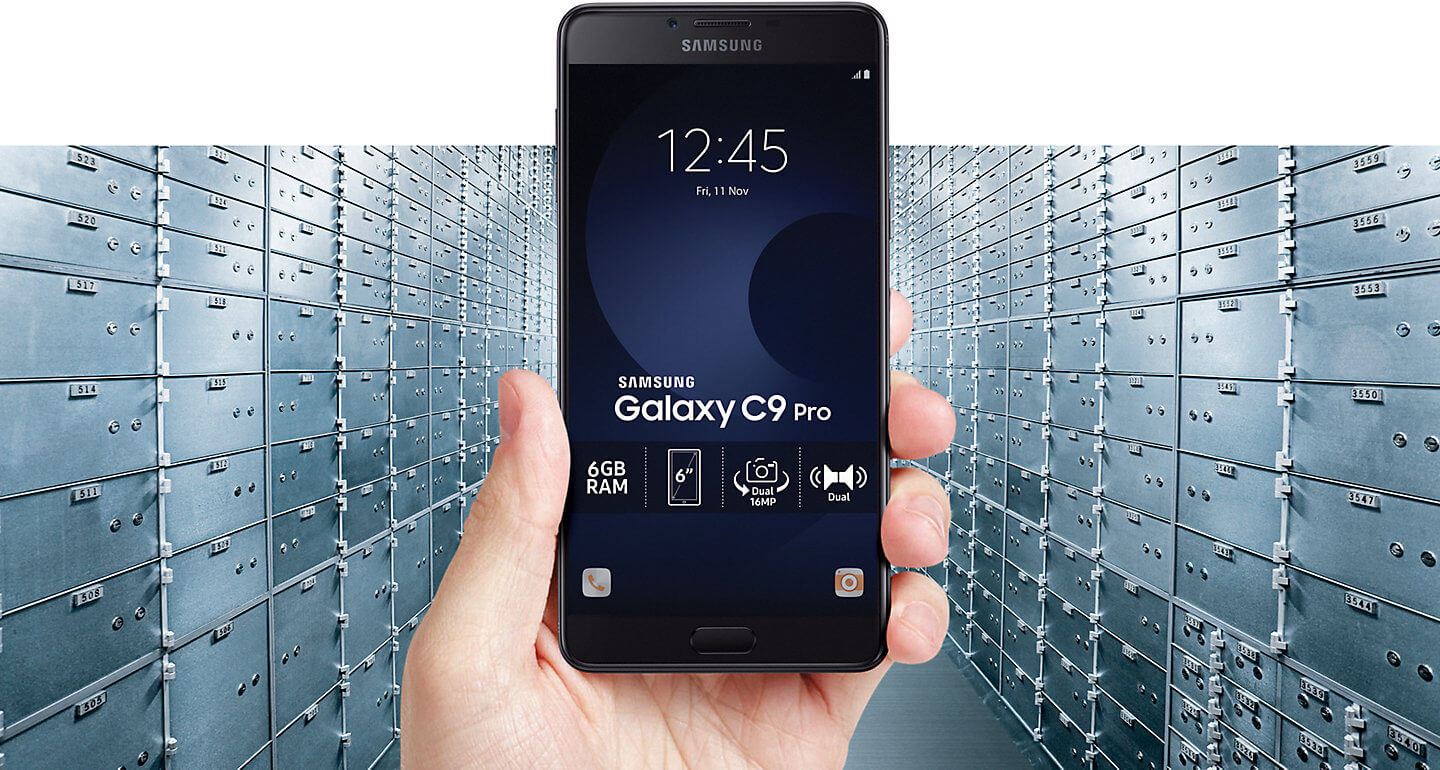
When it comes to choose a high-performance smartphone at a decent price, Samsung Galaxy C9 Pro emerges out as a true winner. Thought the smartphone performs all well, it is to note that it runs on Android Marshmallow. If you wish to update to latest firmware, Samsung is going to release official OTAs for the Galaxy C9 Pro to ensure a safe, secured updated smartphone experience.
The stock Android OS can be easily installed on the Samsung Galaxy C9 Pro in various ways. You can receive the OTA automatically and install the firmware by following on-screen prompts, you can download the OTA and flash it manually through stock recovery mode, or you can download the full firmware package and manually install it through Odin.
Install Stock Android on Samsung Galaxy C9 Pro
Obtain and apply OTAs
- Turn on your device and activate a Wi-Fi connection.
- Tap on Menu and go to Settings.
- From Settings choose About Phone and go towards Software version.
- Now you would be able to get a search engine which will look for possible updates.
- Conduct this search and if an update package is displayed, tap on it and choose to install the new firmware.
- Now, just follow on-screen prompts – do note that your phone might reboot its Android system several times during the update operation (that’s a normal thing).
Manually install the stock Android OS using Odin
- On your PC, download Odin. Unzip the downloaded file and install the program on your computer by following on-screen prompts.
- Now, download the stock Android firmware for your Samsung Galaxy C9 Pro – you can download the firmware from Sammobile, from xda-developer.com, from Samsung’s official website or from any other source you prefer. You can save the update package on desktop.
- Install the Galaxy C9 Pro drivers before doing anything else
- Run Odin on your computer and meanwhile enter download mode on your smartphone: power it off and then press and hold Power, Volume Down and Home buttons at the same time.
- In the end connect your C9 Pro with your computer with the help of the USB cable.
- On Odin you have to receive the ‘added’ message and the ID:COM field is turned yellow or blue. If that’s not happening, you should reinstall your phone’s drivers before repeating the steps from above.
- Now, from Odin click on the AP option and load the firmware package.
- Ensure that you don’t check the Auto Reboot option and the Re Partition feature.
- Click on Start once done; wait while the stock Android OS is being automatically flashed on your Samsung Galaxy C9 Pro.
- You can unplug the USB cable and close Odin. Also, reboot your device.
- If Odin gets stuck during the flashing process: terminate the program, detach the USB cord, force reboot Samsung Galaxy C9 Pro, reinstall your phone’s drivers on your PC and repeat the above steps.
- If your handset will get stuck in a boot loop (that can happen on the last reboot) you need to: jump to recovery mode (press and hold Power, Volume Up and Home buttons) and start a hard reset and clear app data cache – just choose “wipe data factory reset” followed by “wipe cache partition”.


