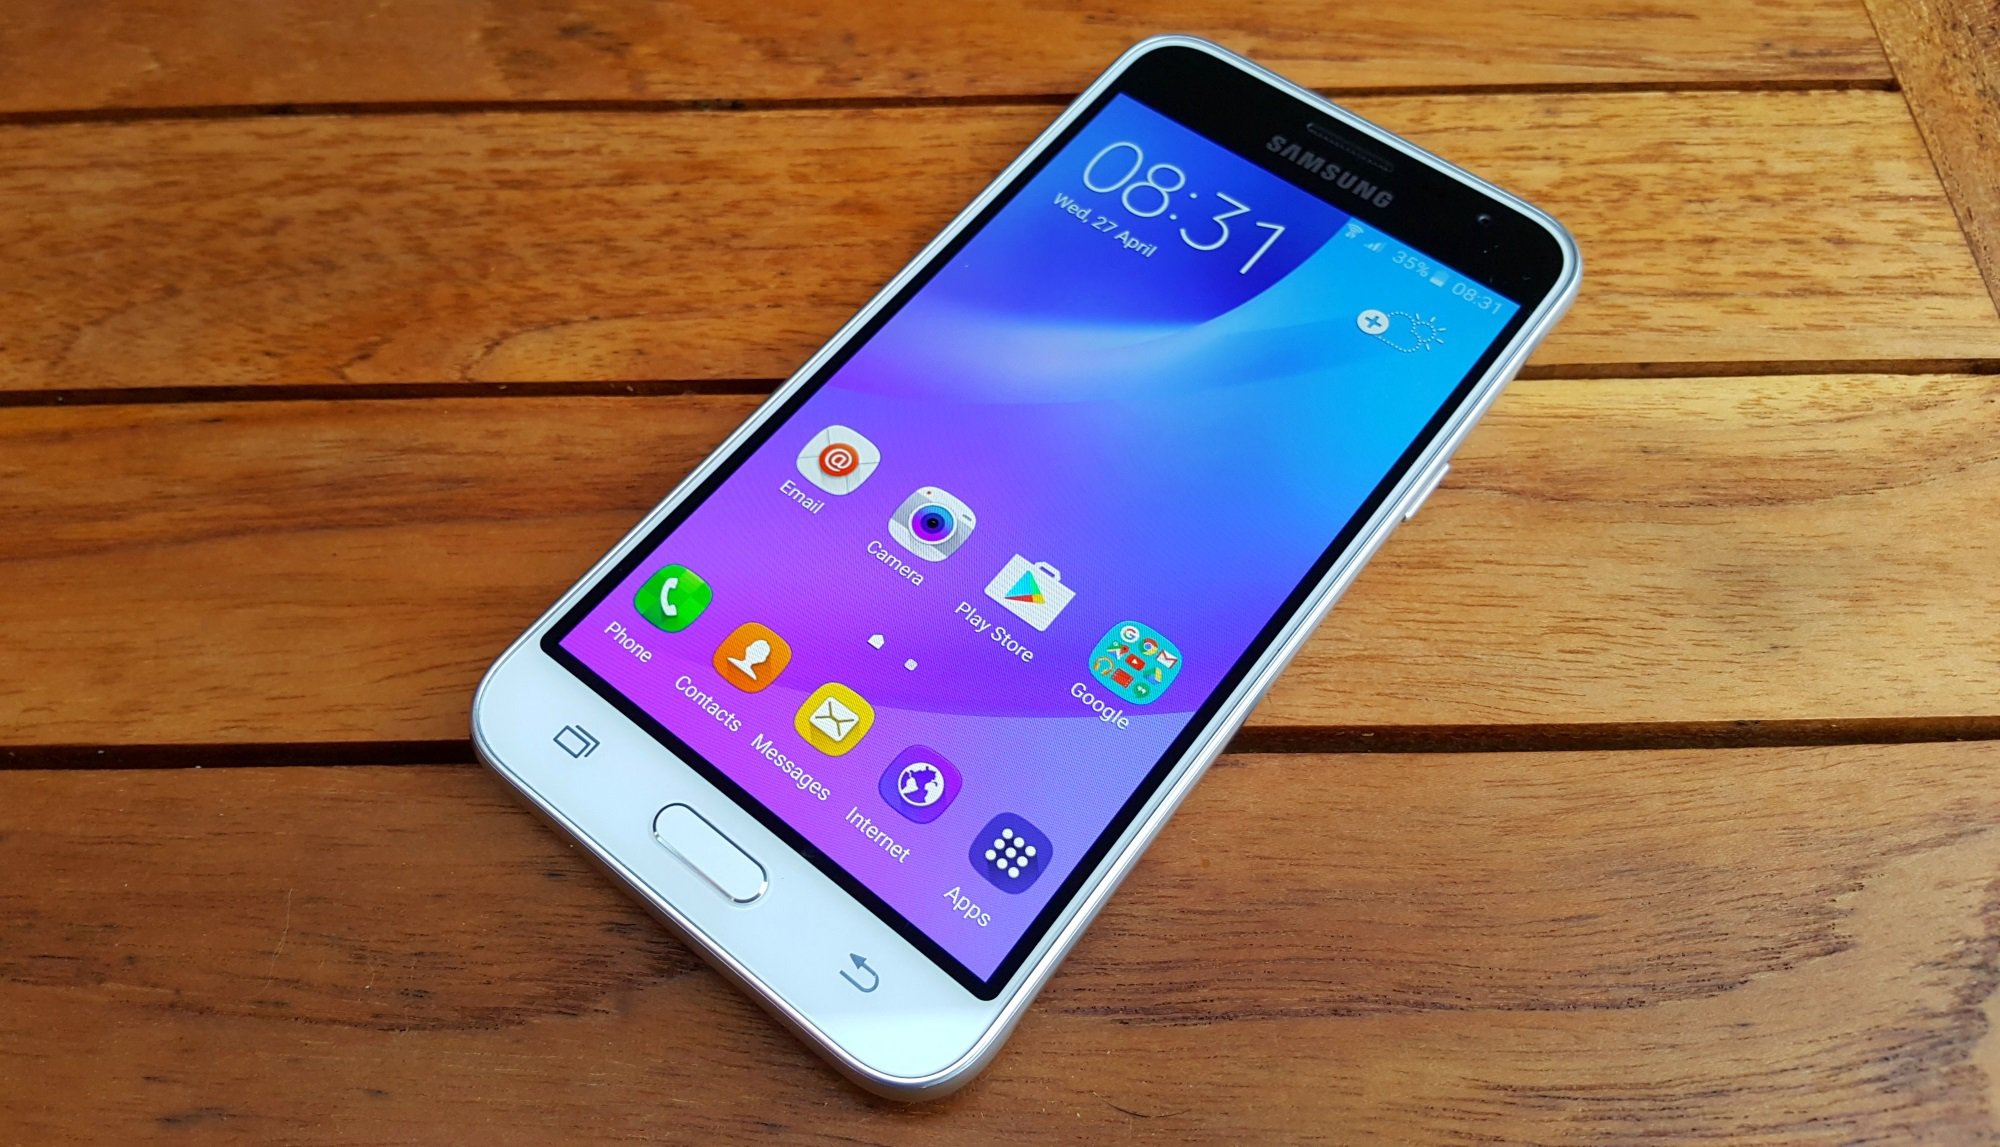
The Galaxy J3 2016 from Samsung is an affordable Android-based device and offers great performance and feature for its users. But if you are looking to personalize and optimize it— you can use the given below tutorial. You will learn how you can successfully install the TWRP custom recovery software and easily ensure root access on your Galaxy J3 2016 phone.
Root will allow you to unlock your phone’s Android core system and get rid of all the factory and default restrictions. On a rooted Android environment, you can complete several operations such as removing bloatware, overclocking or undervolting CPU frequencies, adding root-only apps, installing apps not available on the stock Android system, installing custom ROMs, flashing custom kernels and more.
Some of these operations will also require a custom recovery image. A custom recovery image ensures a proper virtual connection between the user and the phone’s internal system. Without a custom recovery image installed, tweaking your phone won’t be possible. TWRP recovery is touch-based intuitive custom recovery software and it packs important features and settings that help you to easily customize and optimize the Android system.
You should also know that installing TWRP recovery and gaining root access procedures are not supported by Samsung or by Google; you will lose the warranty of your Samsung Galaxy J3 2016 device if you choose to continue with the steps from this guide.
Take the data backup
First, save all your personal data, info, accounts and files, because during the TWRP recovery on the phone or while root access is ensured these might get corrupted or even wiped out. For the backup, you can use the Samsung’s built-in cloud storage platforms, sync your data with your Google Account or use compatible backup and restore apps from Play Store.
There are also some pre-requisites that you must consider before installing TWRP recovery and root your Samsung Galaxy J3 2016:
- You need to use a Windows based computer for this process.
- On the computer, install the Samsung Galaxy J3 2016 USB Drivers. The drivers can be installed using the Samsung KIES utility.
- For flashing the TWRP custom recovery image you will use Odin that is an official software developed by Samsung and generally used on update procedures.
- On your smartphone go to settings -> about phone and tap repeatedly on the Built Number to activate the Developer Options menu. Then, from settings -> developer options, check the USB Debugging field.
- Apply the steps from below only for the Samsung Galaxy J3 2016 SM-J320H/ DS model number, because the files from this guide are compatible only with this smartphone.
- Make sure that you have enough power on your phone for the processes because if the power is too low your device might get turned off in the middle of the root operation and you might end up experiencing various software related problems.
Install TWRP recovery on your Samsung Galaxy J3 2016
1. On your computer, download from here the TWRP recovery file for your Samsung Galaxy J3 2016 and place it on the desktop.
2. Download Odin on your computer, unzip the Odin file on the desktop and then install the tool by following the on-screen prompts.
3. Do not forget to install your phone’s USB drivers.
4. Power off your Galaxy J3 device and then press and hold the Power + Volume Down + Home buttons at the same time to enter your device into download mode.
5. Launch Odin on your computer and connect your smartphone to your computer using the USB cable.
6. On Odin, the ‘Added’ message should be displayed and the ID: COM field turned yellow or blue when the connection is ensured. If that’s not happening, it means that Odin didn’t recognize your smartphone, so try to reinstall the drivers and repeat the same steps.
7. From Odin select the AP option and load the TWRP recovery package. Do not check the Re-Partition and Auto reboot options.
8. In Odin, click on Start and wait until the installation process is completed.
9. On Odin, the ‘Pass’ message should be displayed and the ID: COM field should be turned green.
10. Remove the USB cable and then reboot your smartphone.
11. If Odin stops from working while completing the steps from above, close the program, remove the USB cable, force restart the Galaxy J3 2016 device, reinstall the phone’s Drivers on the computer and repeat.
12. If a boot loop is issued by this process enter recovery mode on your device and select ‘wipe data factory reset’ followed by ‘wipe cache partition’.
How to Root your Samsung Galaxy J3 2016 with SuperSU
1. Download from here the SuperSU root exploit and from here the boot image, on your computer and save the files on the desktop.
2. Power on your phone and connect it to your computer using the USB cable.
3. Transfer the both downloaded files from the desktop to your phone.
4. When done, remove the USB cable and reboot recovery mode on your Galaxy J3 2016 by pressing and holding the Power, Volume Up and Home buttons at once, for a few moments.
5. From recovery make a wipe by selecting ‘wipe data factory reset’, ‘wipe cache partition’ and ‘wipe Dalvik cache’.
6. After clearing the internal system of your phone, from the main menu of recovery, tap on Install.
7. Load and flash the SuperSU file.
8. Next, load and install the boot image.
9. When done, go to the main menu of recovery and select ‘Reboot system now’.
This is how you can root your Galaxy J3 2016 by using TWRP custom recovery and SuperSU tool. Now, you can flash a custom ROM firmware to personalize the Android UI and can optimize the performance of your device. Hope you benefitted from it.


