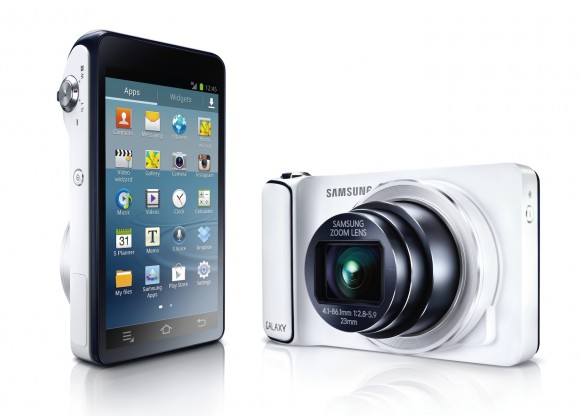
You are going to learn to root the Samsung Galaxy Camera. Samsung Galaxy Camera comes with a display Super Clear LCD capacitive touchscreen(720 x 1280 pixels) and 4.8 inches, a Corning Gorilla Glass 2 protection, 1 GB RAM with 64 GB Internal memory and 8 GB for storage.
The Samsung Galaxy Camera comes in four colors: black model, white model, pink and orange model. Pre-requisites:
- First, you must be extremely careful about the data and make arrangements to save the data. Note: DO not create the backup with the KIES after the rooting.
- Save the SMS stored on your device and to do this you need to download the SMS Backup & Restore app.
- Sync your contacts, use the Sync with the Gmail application, method for you get synchronization for your contacts.
- Save the call logs, for this download and use Call Log and Restore app.
- To save your Images, files, documents, songs files, video files copy to internal / External SD Card.
- To save your internet configuration, APN, MMS settings note down the following path:Applications > Settings > Wireless and Network > Mobile Networks > Access Point Names.
- Enable the USB Debugging option from the next path: Settings > Applications > Development > USB debugging, there the USB debugging option need to be ticked.
- The battery level must be more than 40%. Be careful and reread all the above instructions before starting the process.
How to Root Galaxy Camera on Jellybean Firmware
- Download the Odin app from here and save it in your PC.
- Download Rooting Package from here and save it in your PC.
- Extract the Rooting Package and then get the .tar file.
- Open the Odin software in your PC.
- Enter the Galaxy Camera device in the Download Mode and for this you need to press the Volume down button and keep holding it. , At the same time press the camera & power On. When your device is in download mode, you will see a green robot. If your device starts in the normal mode, you need to repeat the step.
- Connect your Camera device to the computer and for that use the original USB cable. Head over to click “PDA” and select the tar archive on the ODIN software.
- In the Odin application, click the “start” button to start the rooting process. dodo not touch anything. After the reboot, perform the screen instructions customizations which are displayed on the Samsung Camera display.
- Now, to verify if your device is rooted or not, you need to download and install the “Root Checker” application. Note: If your device do not boot up or does not show the home screen, you need to remove the battery device, wait a few seconds and reinsert the battery to boot the Samsung Camera device again in the normal mode.
Congratulations, you learnt successfully how to Root Galaxy Camera on Jellybean Firmware.


